4.Preparation
Before use the iLEDCloud,users should connect the LED multi-media device to the local LAN,set the device IP and WEB mode to obtain the device ID.all the above operation need PC software from ONBON Technology
4.1 Install corresponding PC software
4.1.1 Download installation package
Users need download software from(http://www.onbonbx.com/),download BX-YQ full color software if use YQ or Y series controller, and download the software after 18.9.29.1. If use the 6th generation controller ,should download LedshowTW software, download the software after 18.10.19.0 (ps: this software only can run with the windows system)
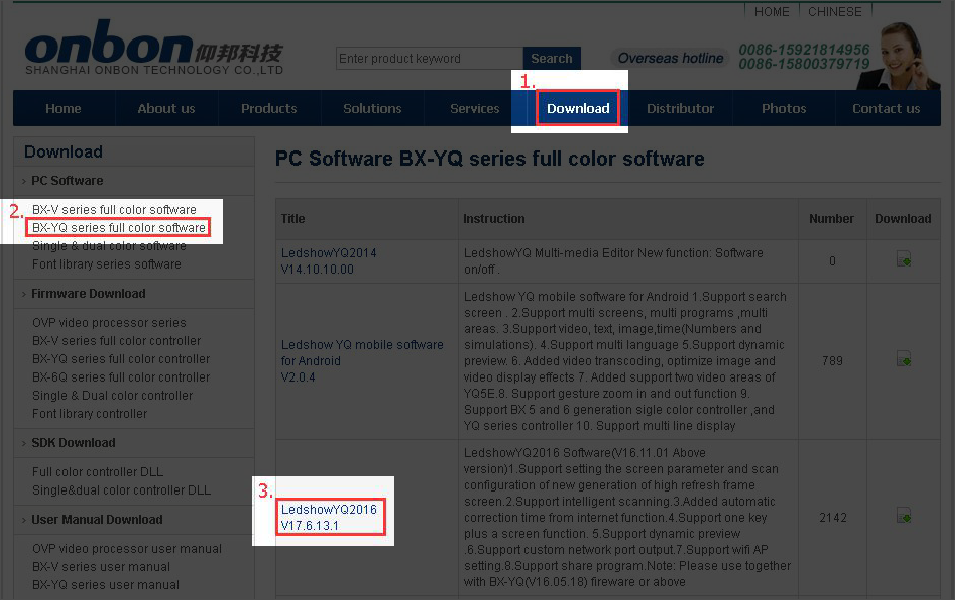
picture 4.1- 1 YQ software download page
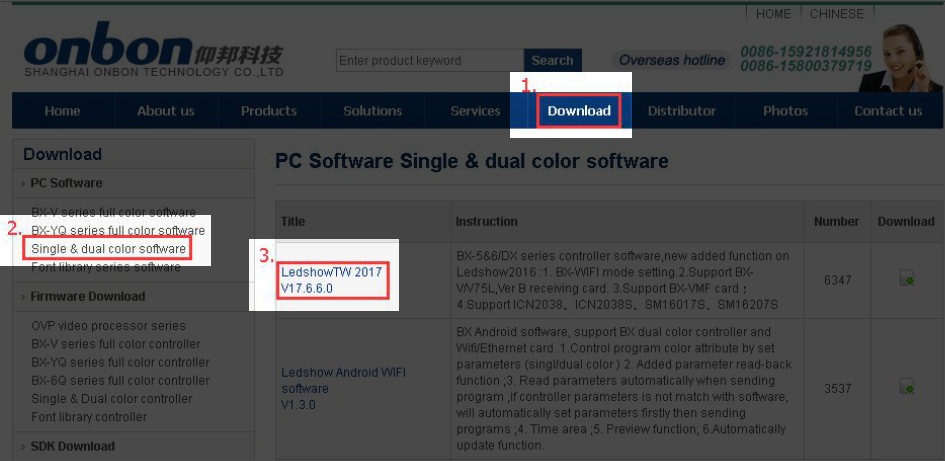
picture 4.1- 2 6Q software download page
4.1.2 Install editing software
1.Zip the software and running it ,select the language as English is ok
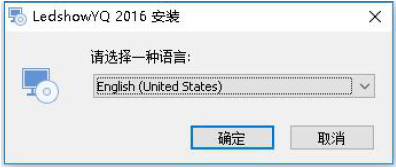
picture 4.1- 3 select the language

picture 4.1- 4 installation guide
2. Select the folder installation path
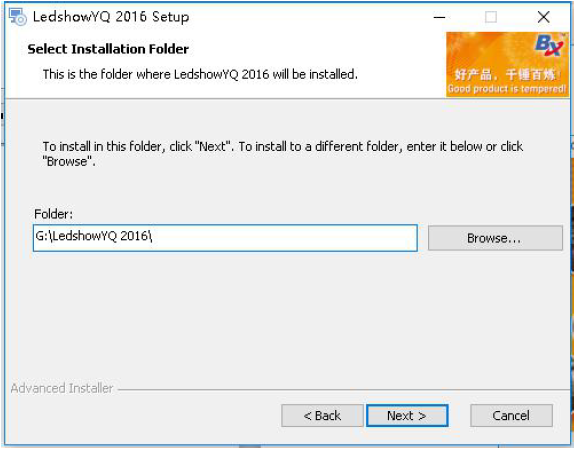
picture 4.1- 5 install the installation path
3. Click to install
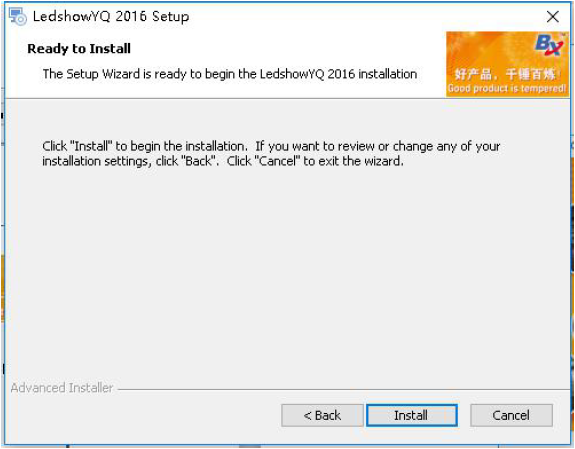
picture 4.1- 6 prepare to install
4. Finish the installation。
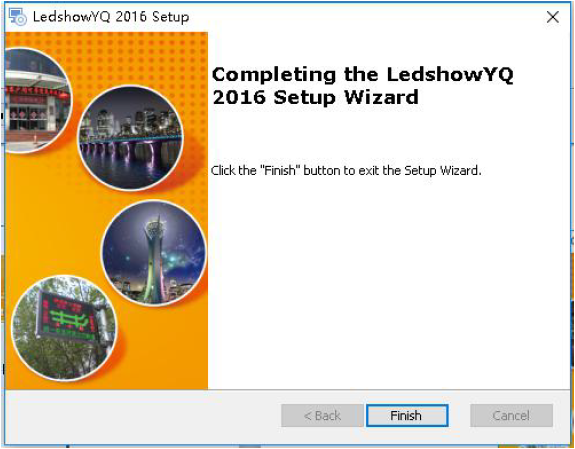
picture 4.1- 7 finish
4.2 Device parameters configuration
After install the software, pls connect the multi-media player to the power ,connect with the same LAN with the computer which have been install the software ,pls make sure the device and computer is in the same network segment ,then can obtain the device parameters by the software.
4.2.1 Use WEB mode from the YQ software
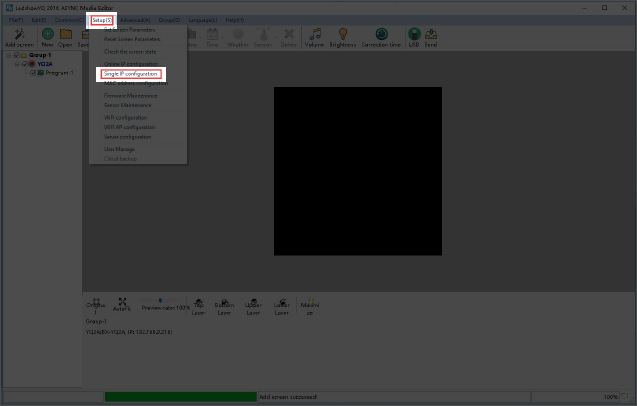
1. Open LedshowYQ software ,click “setup”-- “set screen parameters”-- “add screen”-- “list of online controllers”--and select the screens you want to add, then click “add”
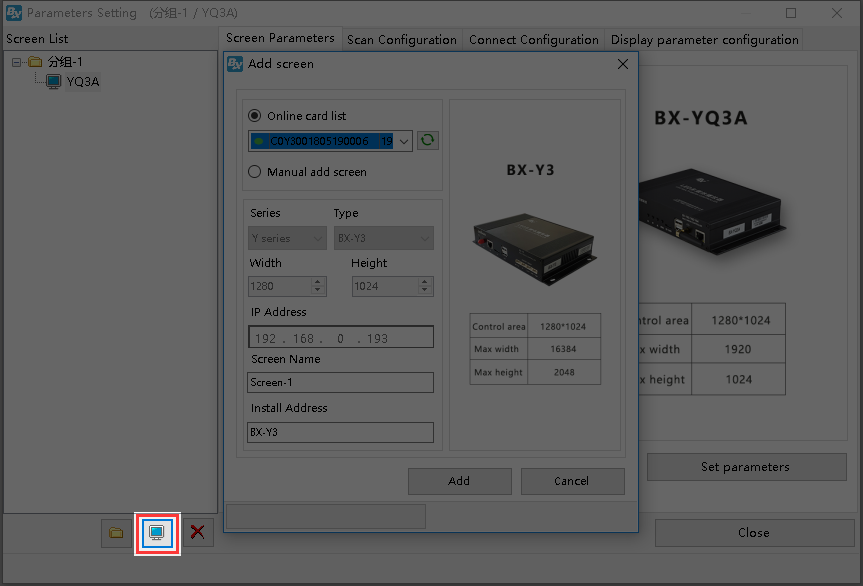
picture 4.2- 1 add screen
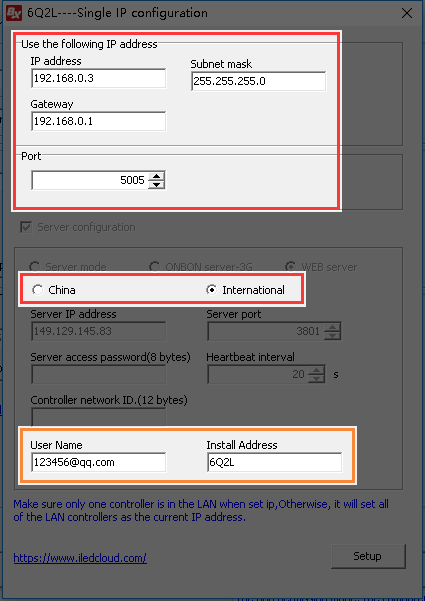
2. after add the screen like in the picture 4.2-2,click the IP configuration ,input the password 888
picture 4.2- 2
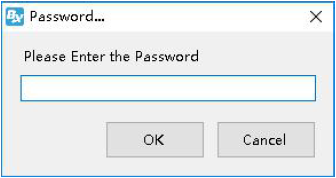
picture 4.2- 3 input password
3. In IP configuration page of controller, users can modify the device IP (suggest you to use “Automatically obtain IP address”) and select the “server configuration” select WEB server ,overseas customers please choose “International station”, if user write “user name”(the mail or mobile phone number when used to log in)and the ”installing Address”( customized by screen name)like in picture 4.2-4 then click” settings”(PS: Please make sure current that LAN only connect with one device when use the single IP setting),when this controller connect with network, the controller will automatically add the corresponding user name ,no need manual setting.
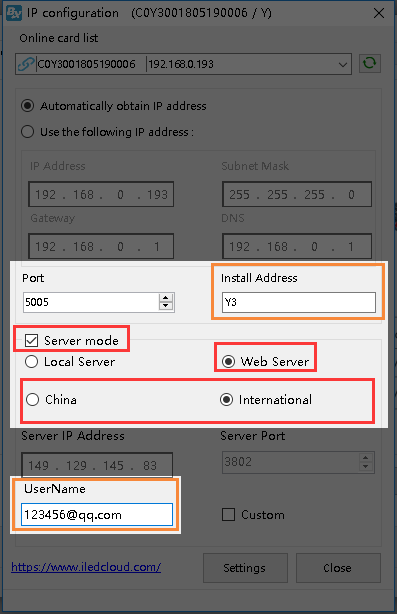
picture 4.2- 4
4.2.2 Use WEB mode from the TW software
1. Open the TW software, click setup to set screen parameters
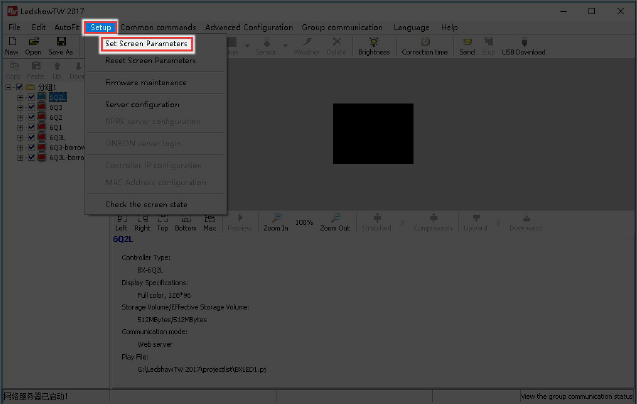
picture 4.2- 5
2. Select the controller model ,communication mode should be web server
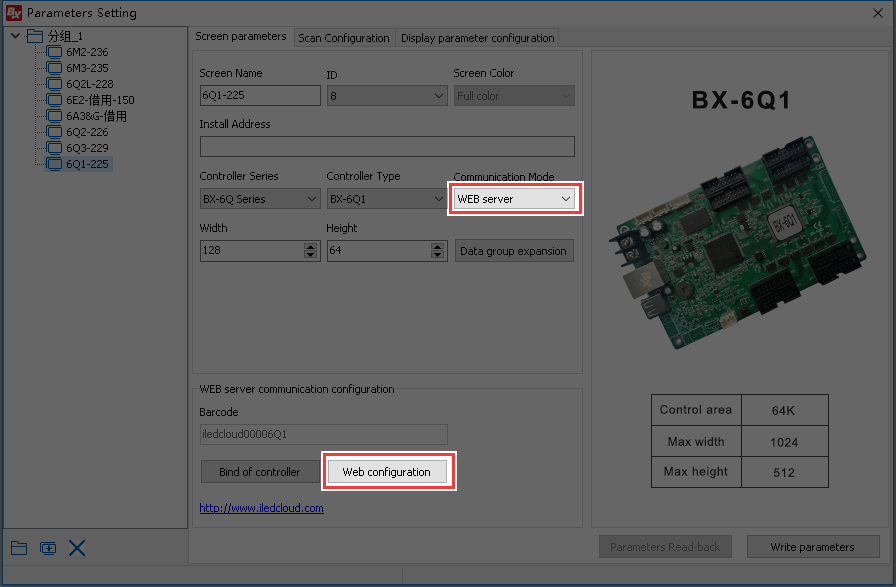
picture 4.2- 6
3. Click WEB,write the IP information international users please select “International”,and then click “setup”.( the LAN only can connect with one device when setup)
picture 4.2- 7
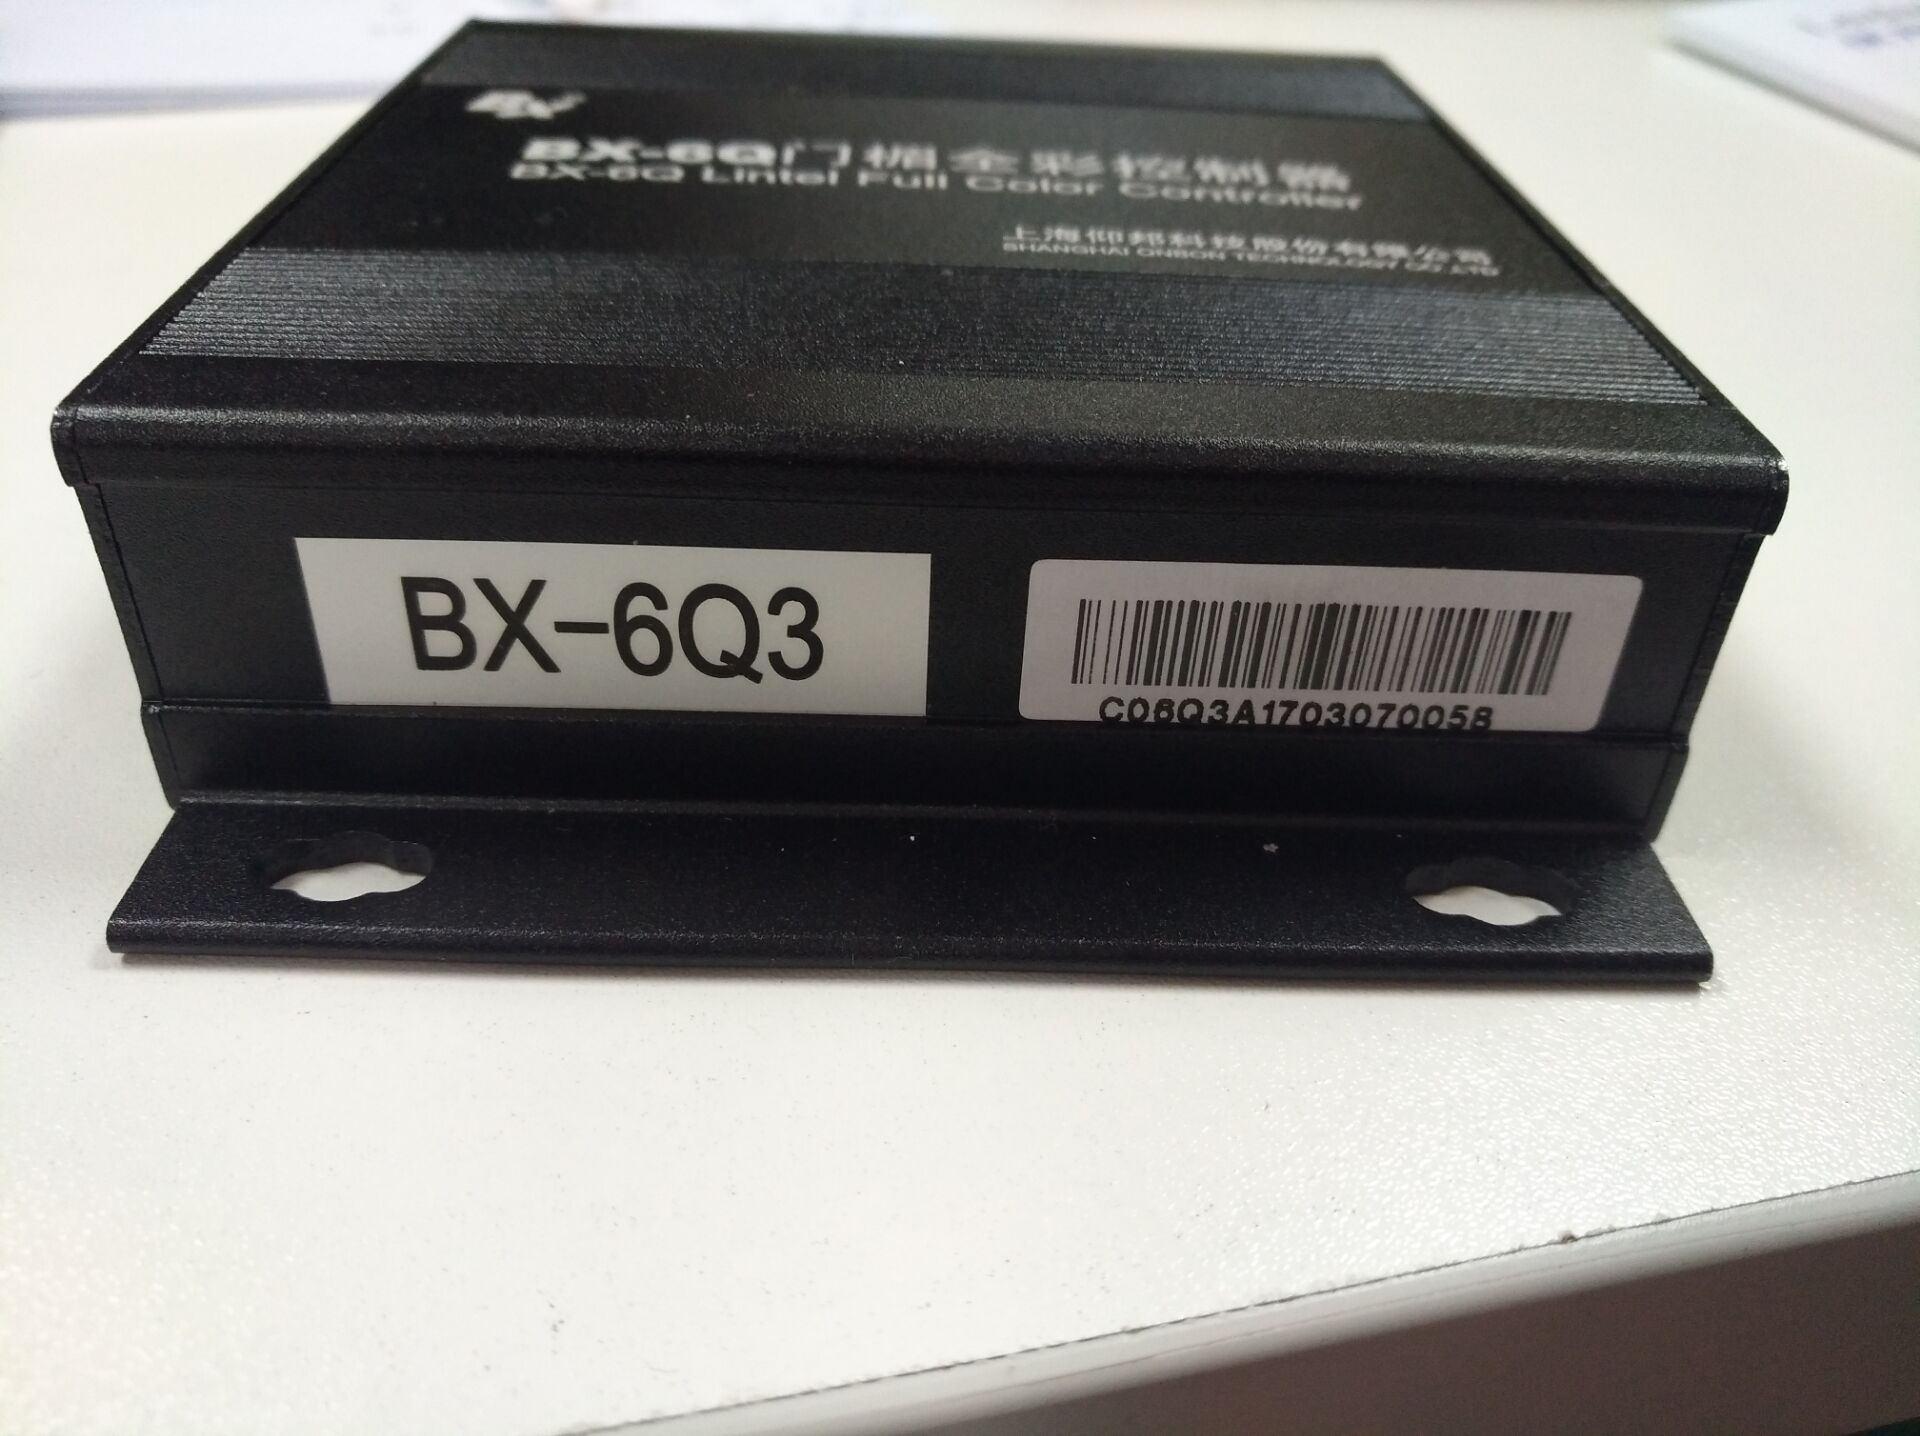
4.2.3 Obtain controller ID or bar code
In the YQ software--setup the screen parameters ,users can obtain the bar code, Like in the picture 4.2-8. On the side of controller also have the bar code ,if user can obtain the ID and bar code by YQ software ,then can priority to use the bar code when add screen .if user only can obtain the ID, then need input the ID when add screen.
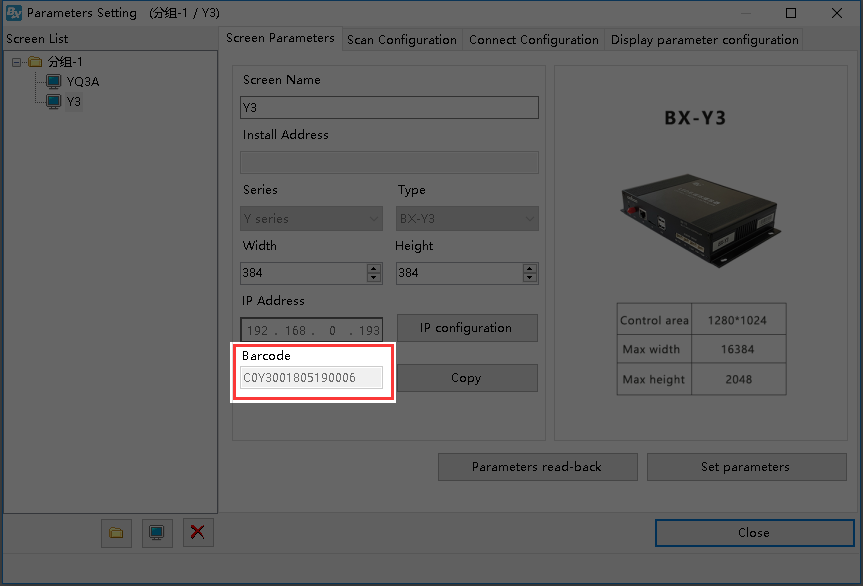
picture 4.2- 8 obtain PID
6 series controller bar code can check from picture 4.2- 9